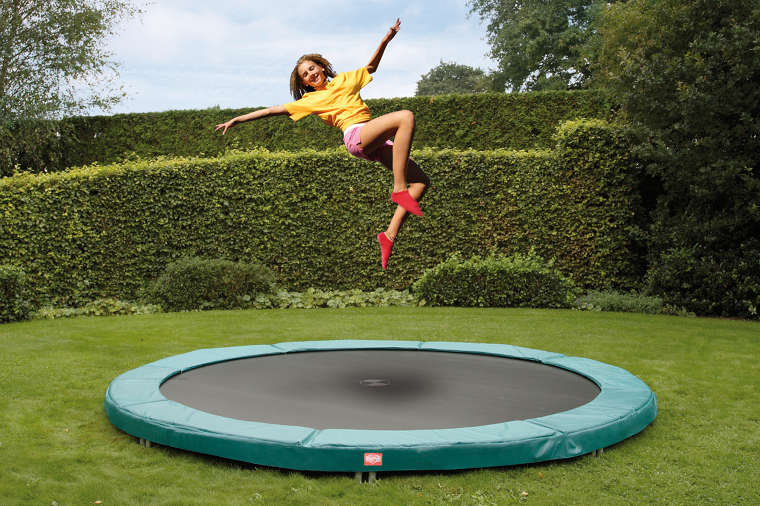
BERG have been designing and producing trampolines for over 30 years. Inground trampolines are located in the ground meaning they are not built and assembled above the ground. Whichever inground trampoline BERG produces it always contains their main core values of quality and durability giving years of trampolining pleasure.
There are many types of BERG trampolines like The BERG Talent, BERG Champion, BERG Elite+, BERG Favorit and BERG Eazyfit. You can get BERG Inground trampolines with and without a safety net. Inground Trampolines are much safer with a safety net around it. Their InGround trampolines are available in various diameters and prices. When these trampolines are placed down into the ground of your garden it is barely noticeable. It gives a tidy appearance because they are nicely concealed. The problem is how to fit and install it into the ground?
All Inground trampolines come in different shapes and sizes, therefore, the shape and size will determine how you approach and execute the installation process. There are a number of steps to be taken to ensure the installation runs smoothly;
Step 1 – Determine Measurements Of Trampoline
Before doing any digging you must know the exact measurements for the diameter of the trampoline, diameter hole and depth hole. Observe the sizes in the instructions provided with the trampoline.
Step 2 – Placement Location
Spend some time brainstorming to come up with an ideal location for where you want to have your inground trampoline. Establishing a location that is not close to a hedge, fence, shed or any potentially dangerous object to ensure ultimate safety. It is said that a 2-metre minimum distance from any potentially harmful object is best.
Step 3 – Mark Out Location
Mark the location on the ground with the tape measure provided with the trampoline or your own if preferable once they are the measurements of the inground trampoline model. This will result in knowing the exact location to put the trampoline
Step 4 – Dig Space For Trampoline
If you are happy with the location you have decided for your trampoline to be put and it meets the trampoline measurements then you can go ahead and start digging. Dig out the hole entirely in the shape of a bowl to the indicated depth of the inground trampoline model.
Step 5 – Insert Trampoline
Once you have dug out the hole as described in the previous steps to the specific measurements, you can then place the trampoline on top of it. Follow the last steps of the instructions provided and you are ready to start bouncing.


